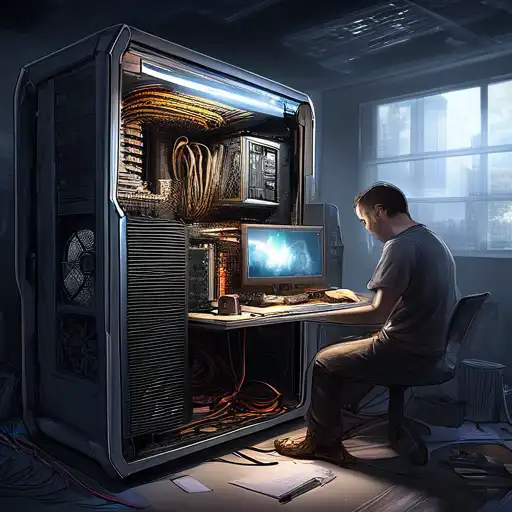
Introduction to PC Building
Building your own PC can be a rewarding experience, offering both personal satisfaction and the opportunity to create a machine that perfectly fits your needs. Whether you're a gamer, a content creator, or just someone who appreciates the value of a custom-built computer, this guide will walk you through the basics of assembling your own PC.
Understanding the Components
Before you start building, it's essential to understand the key components of a PC. Here's a quick overview:
- Processor (CPU): The brain of your computer, responsible for executing instructions.
- Motherboard: The main circuit board that connects all components.
- Memory (RAM): Temporary storage that your CPU uses to store data actively in use.
- Storage (SSD/HDD): Where your operating system, applications, and files are stored.
- Graphics Card (GPU): Handles rendering images, animations, and video for the display.
- Power Supply Unit (PSU): Converts power from the outlet into usable power for the PC components.
- Case: Houses all the components and protects them from dust and damage.
Choosing the Right Parts
Selecting the right components is crucial for building a PC that meets your performance needs and budget. Consider the following tips:
- Determine the primary use of your PC (gaming, work, general use) to guide your component choices.
- Ensure compatibility between the motherboard and other components, especially the CPU and RAM.
- Consider future upgrades when selecting parts like the PSU and case.
Step-by-Step Assembly Guide
Now that you've gathered all your components, it's time to start building. Follow these steps:
- Prepare your workspace with a clean, static-free surface.
- Install the CPU, RAM, and storage onto the motherboard before placing it in the case.
- Mount the motherboard inside the case, securing it with screws.
- Install the power supply and connect it to the motherboard and other components.
- Add the graphics card if you're using one, securing it in the appropriate slot.
- Connect all necessary cables, including those for power, data, and front panel connectors.
- Close the case and connect your monitor, keyboard, and mouse.
Installing the Operating System
With your PC assembled, the next step is to install an operating system (OS). You can choose between Windows, Linux, or macOS (for compatible hardware). Follow the OS installation guide, which typically involves booting from a USB drive or DVD and following on-screen instructions.
Final Thoughts
Building your own PC is a fulfilling project that can save you money and give you a deeper understanding of how computers work. With the right preparation and patience, anyone can assemble their own custom PC. For more detailed guides on each step, check out our PC Building Tips section.
